


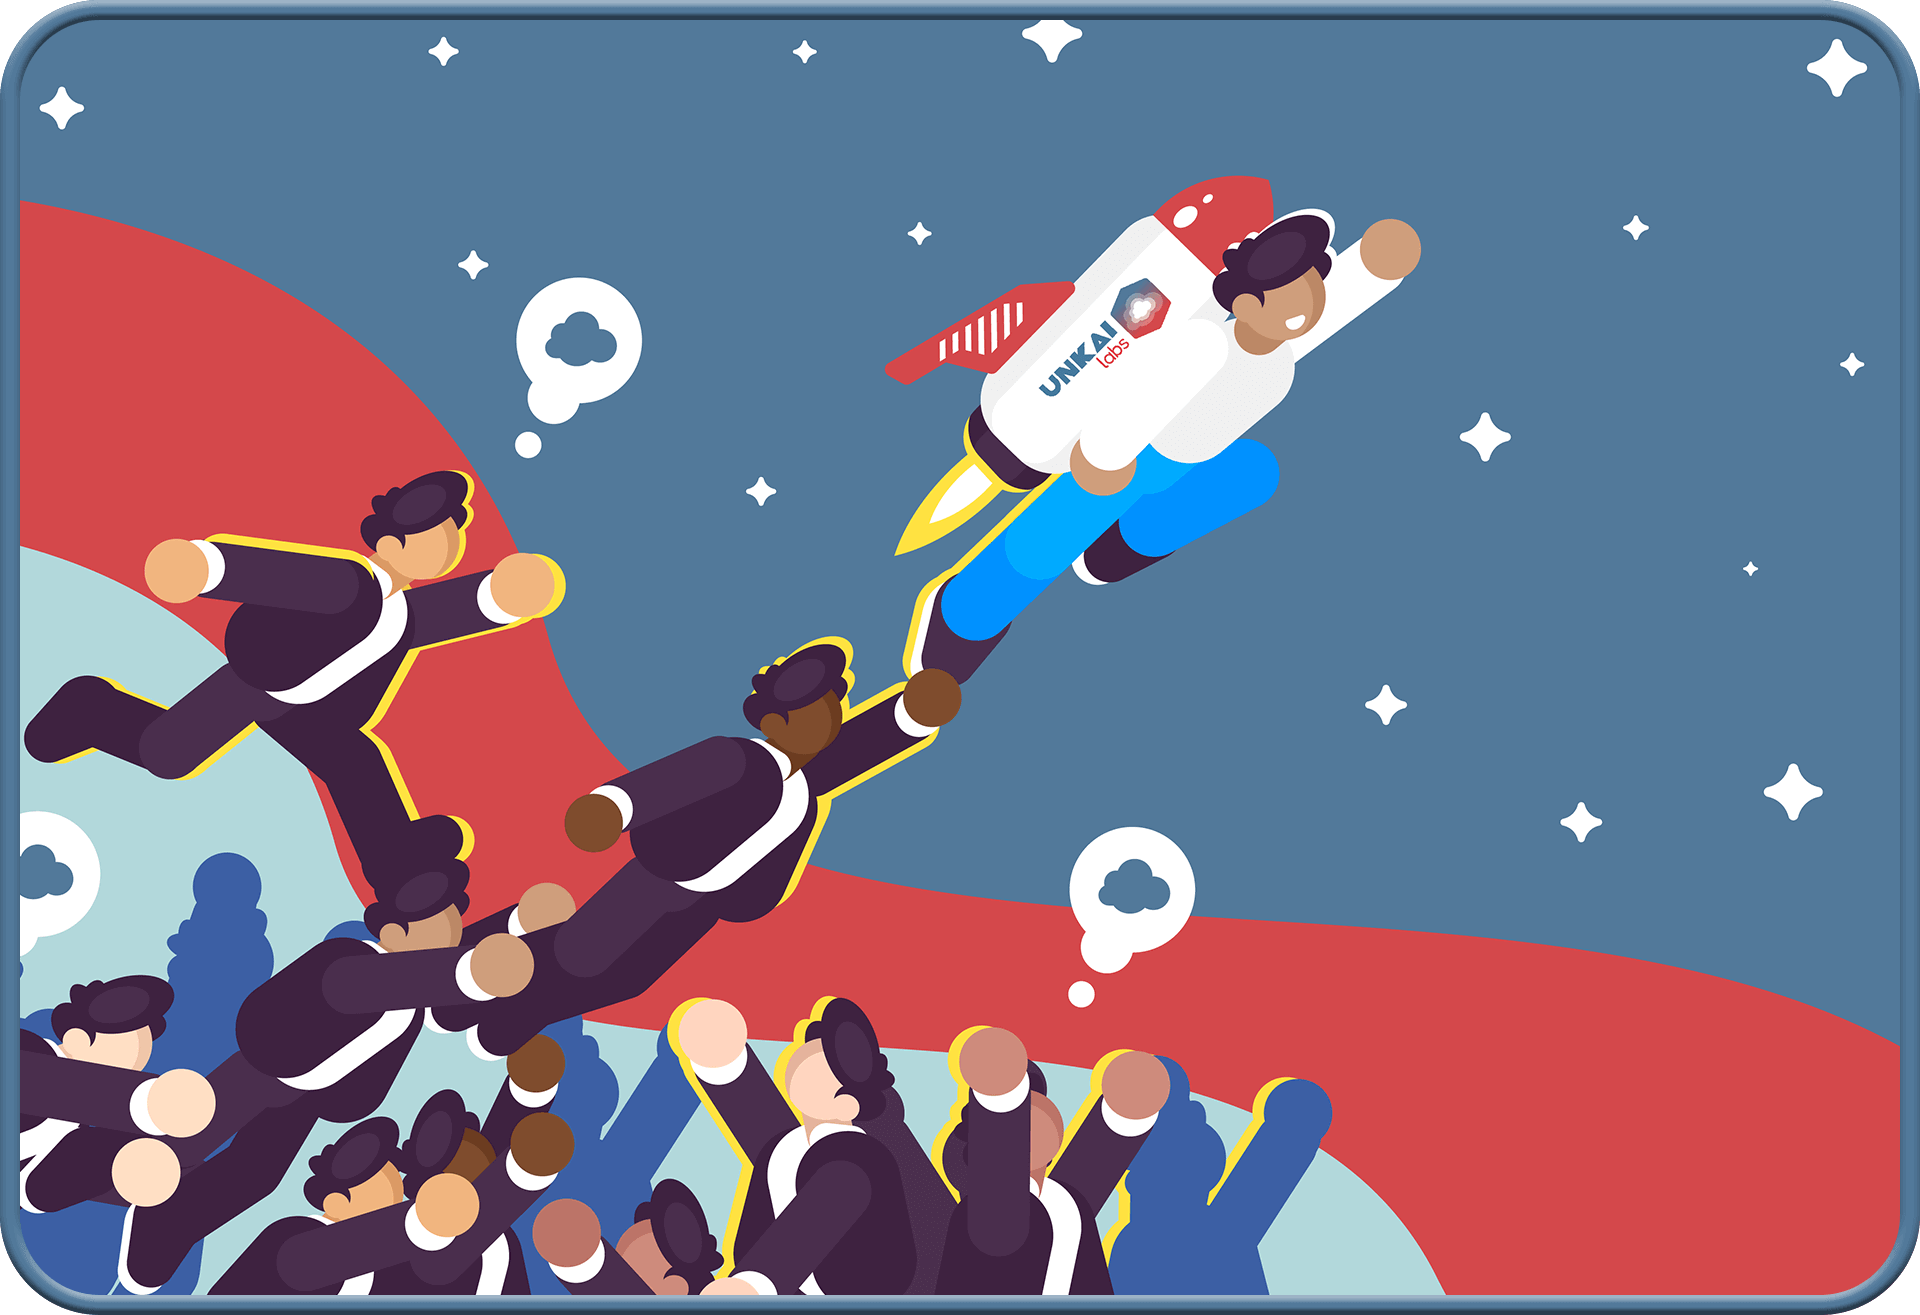


UNKAI Labs is a web3 agency that specializes in digital asset development for content creators who are interested in offering secure, frictionless, easy-to-use, and engaging experiences that make digital assets in the form of NFTs accessible for every community in the creator economy.
Connect your wallet to check your eligibility
To receive your Free UNKAI Nation Pass ,
you need to create a digital wallet,
connect to Polygon Network, and claim it.
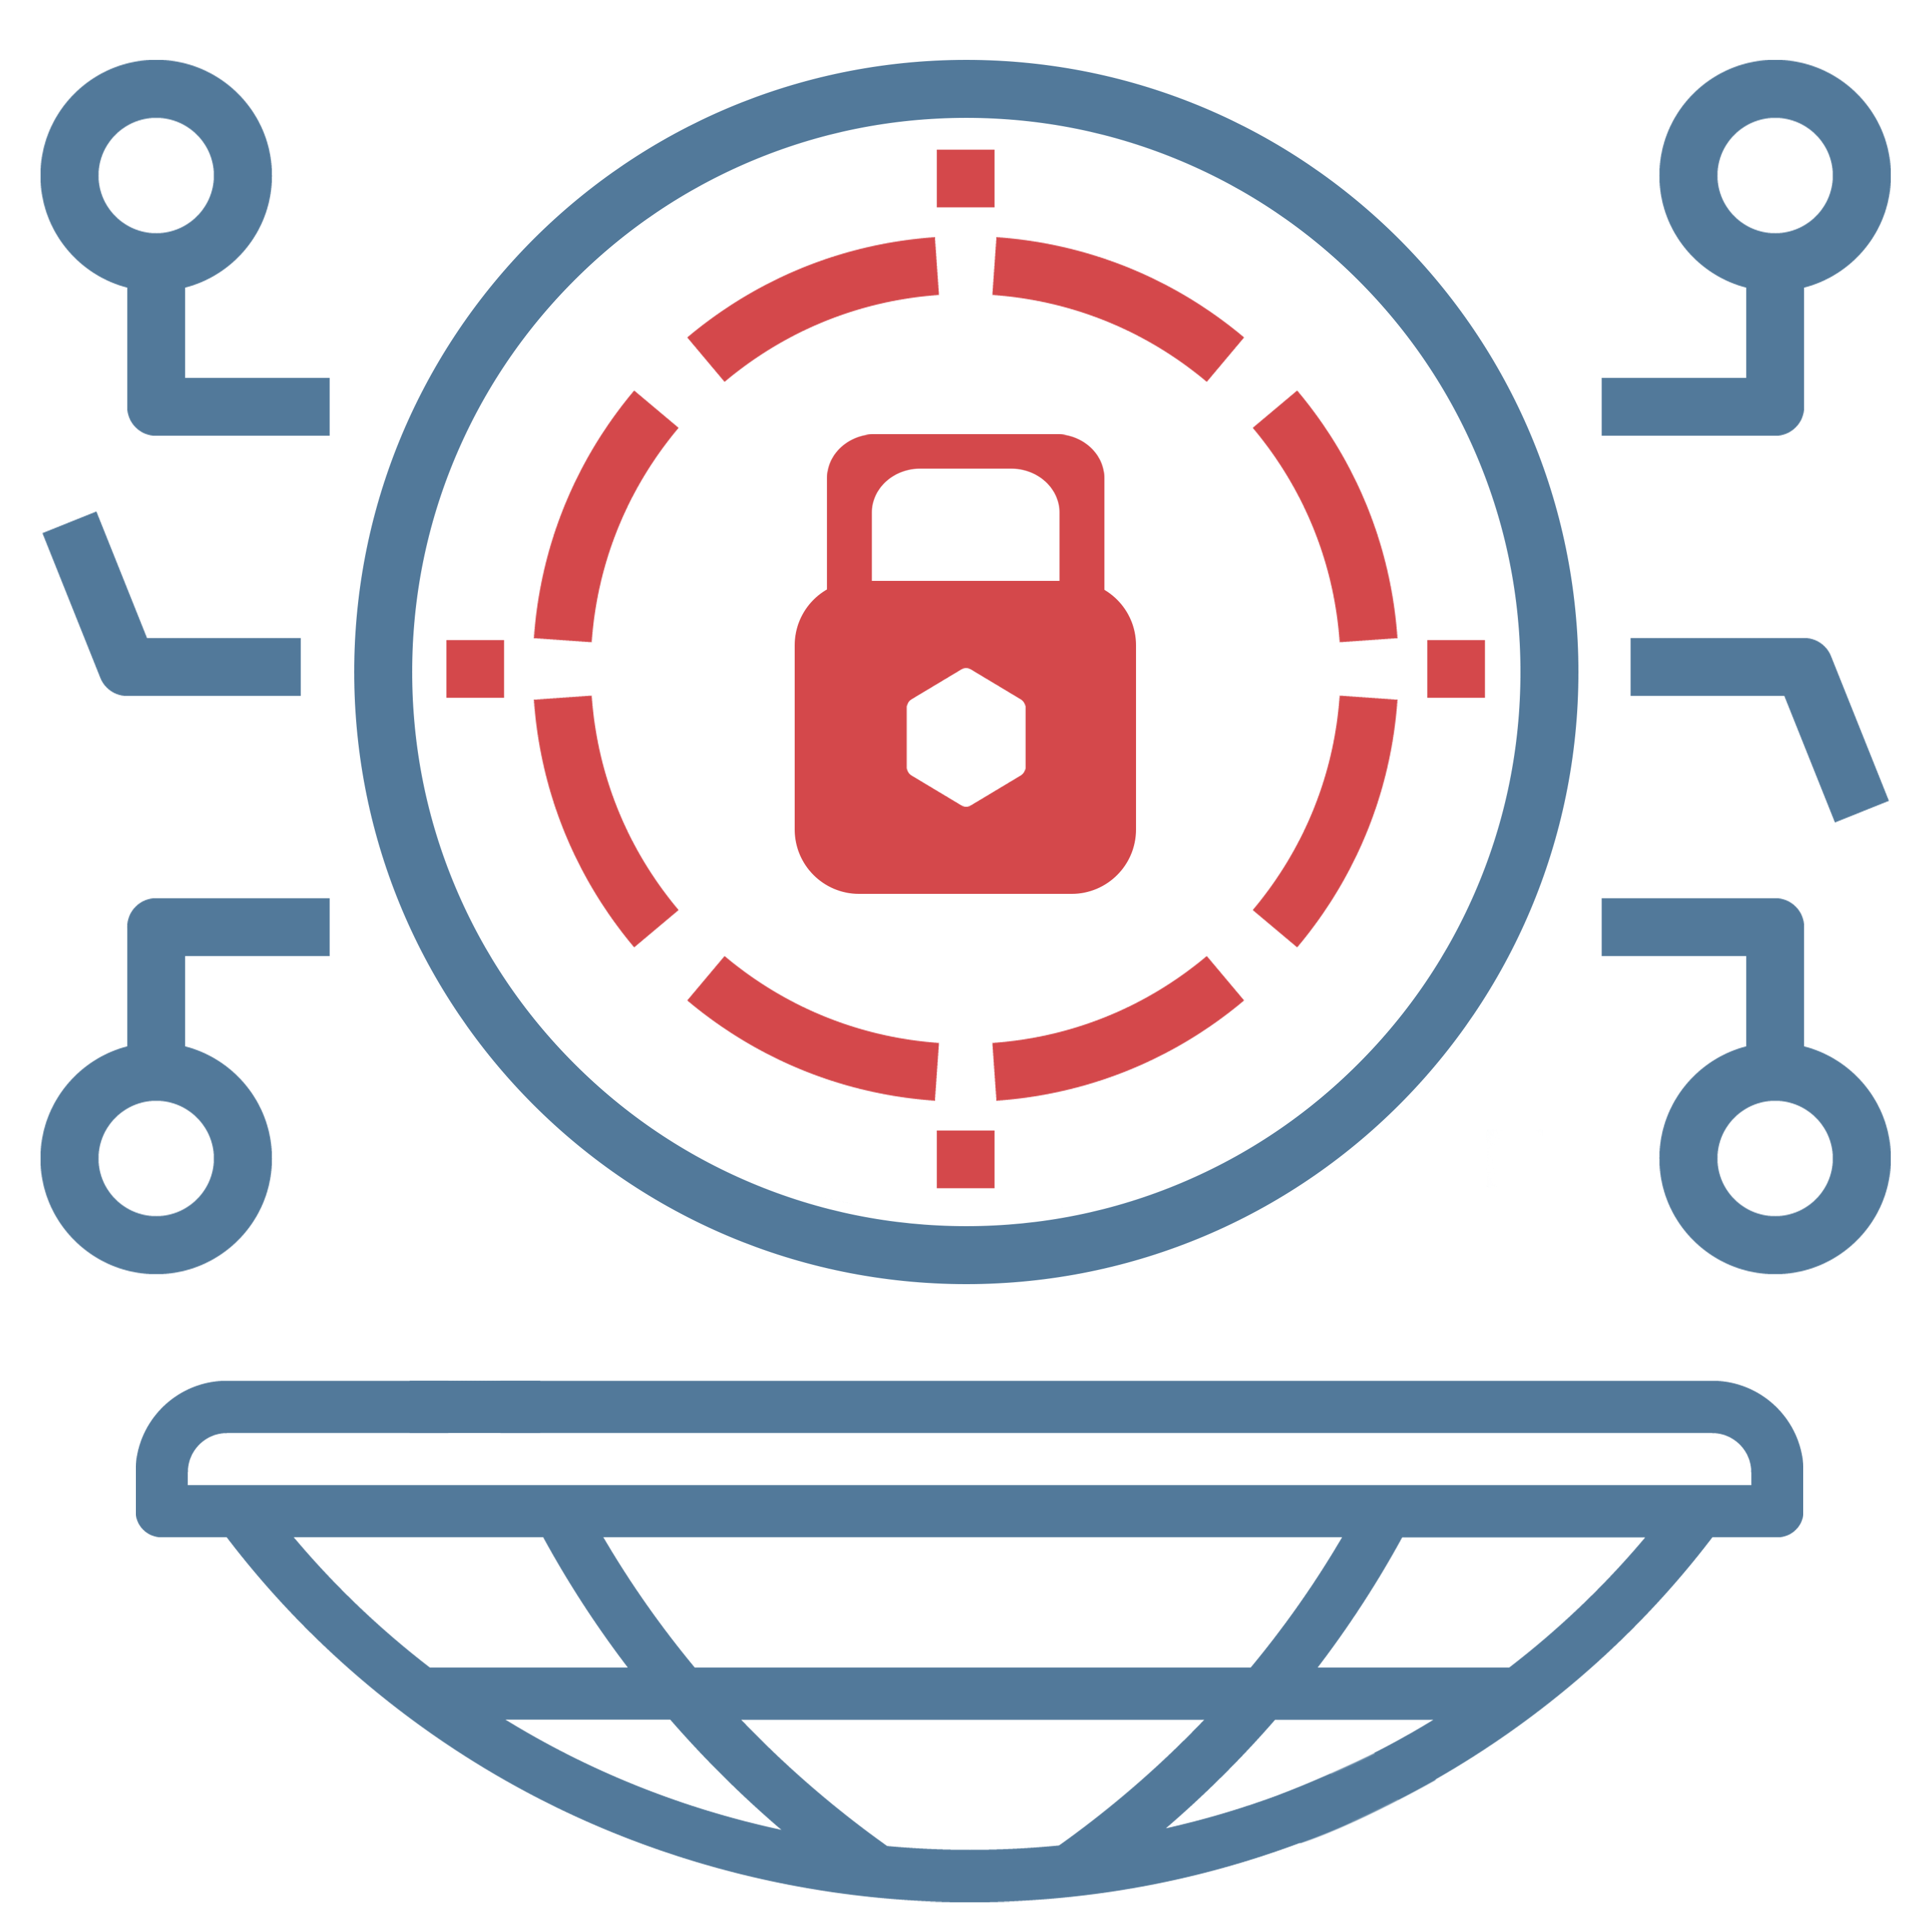
The Genesis Drop is our first limited edition of 1200 Free digital assets in the form of NFTs from the UNKAI Nation Pass collection on Polygon Network.
Claim yours from the Genesis drop to be granted access to exclusive perks, discounts, and so much more for those who believe life above the Sea Of Clouds must be earned.
ACCESS TO EXCLUSIVE COMMUNITY
Our Genesis Pass grants access to exclusive content on our private Discord community and token-gated websites.
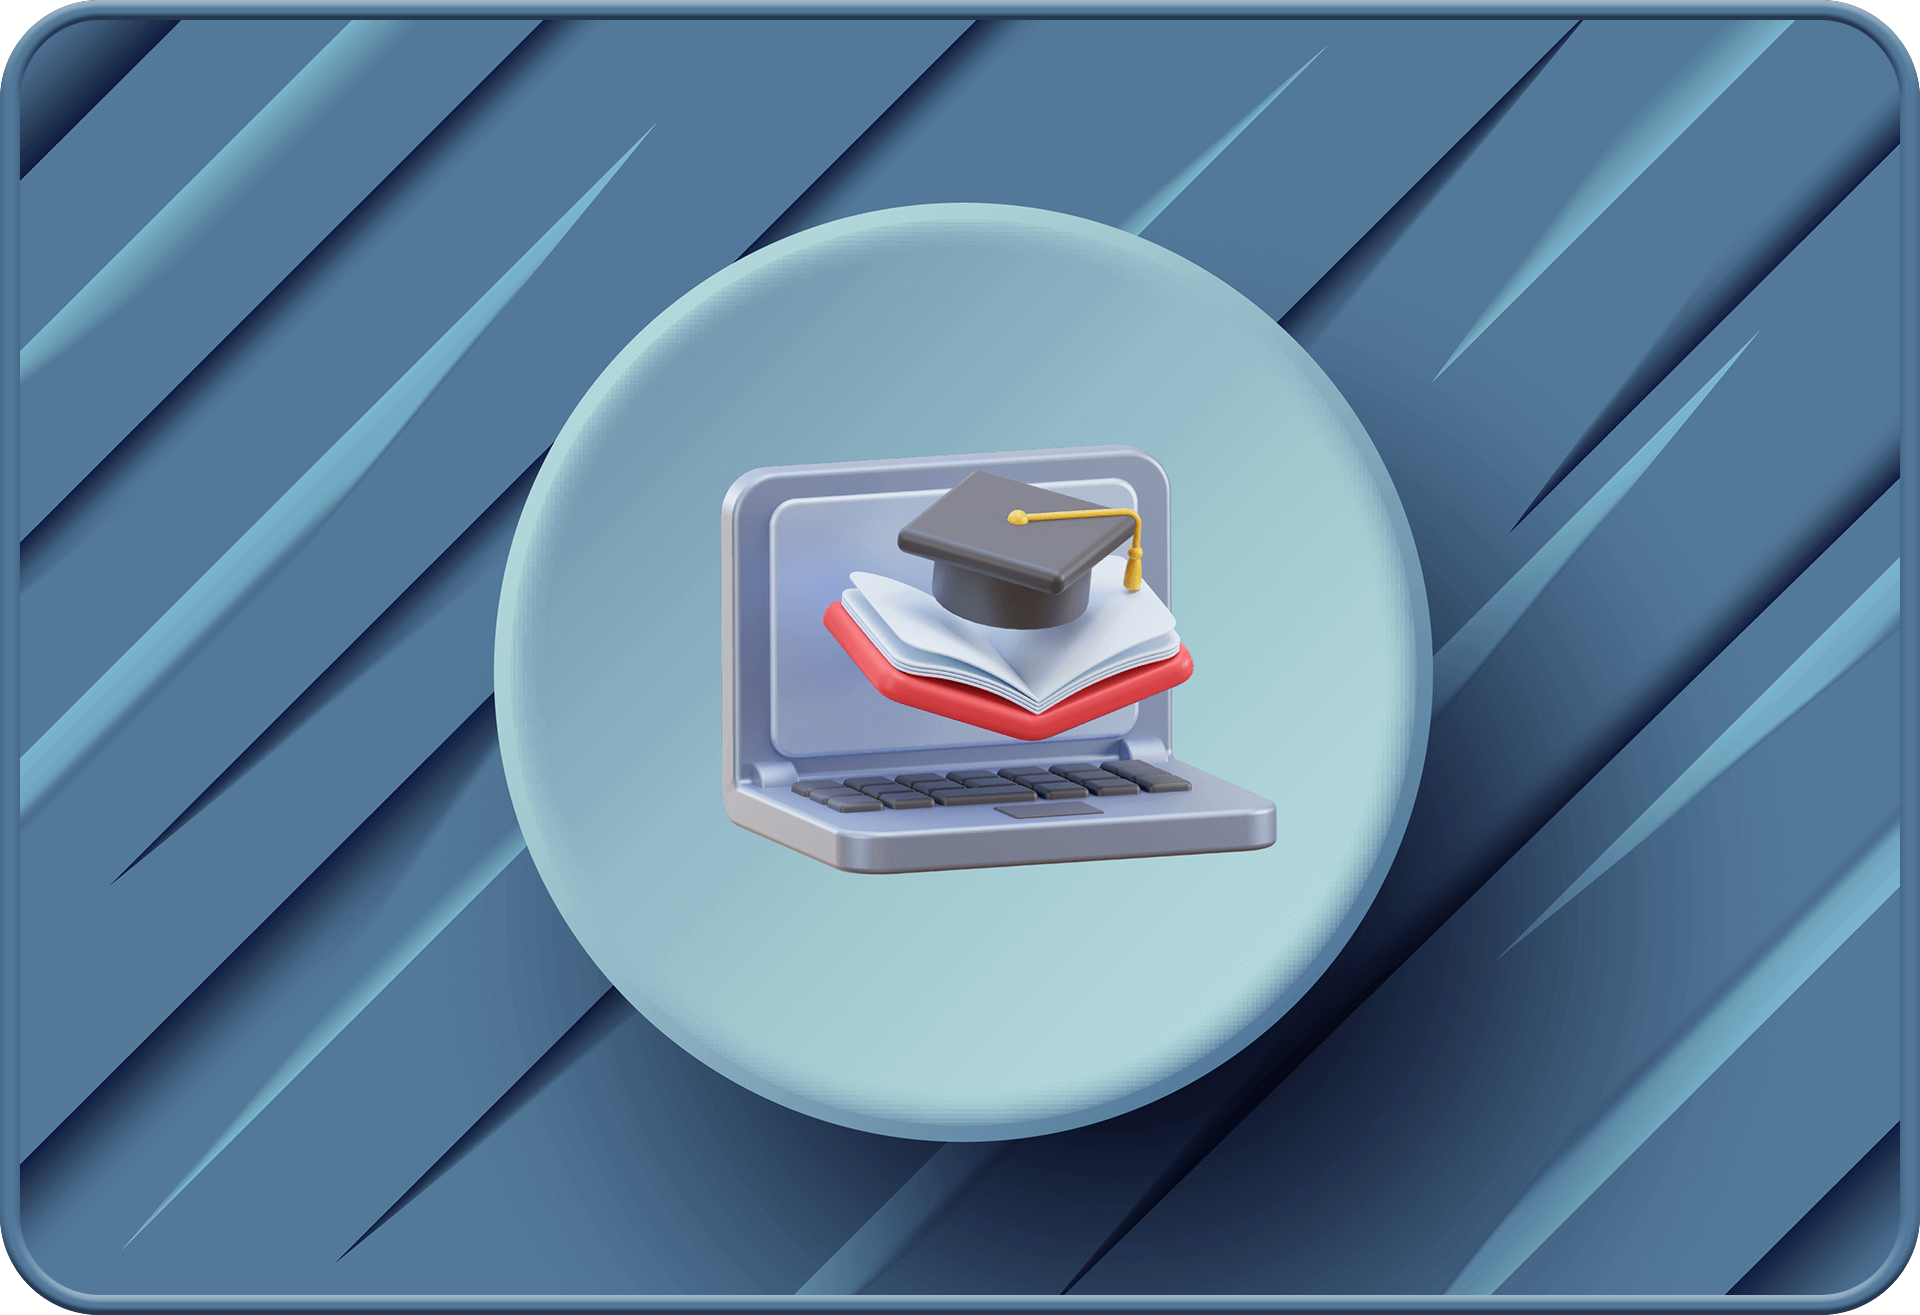
ACCESS TO THE CLOUD ACADEMY
Our Genesis Pass grants exclusive access to educational resources to bridge male-oriented content with web3 technology.
DISCOUNTS TO DIGITAL & PHYSICAL PRODUCTS
Our Genesis Pass grants discounts and perks to future digital and physical products from the UNKAI Nation brand and partners.
ACCESS TO FUTURE IRL MEETUPS
Our Genesis Pass grants access to our future in-real-life Web3 Collective meetups, starting from within the Mascarene Islands.
ACCESS TO FUTURE IRL WEB3 CONFERENCES
Our Genesis Pass grants access to our future in-real-life conferences “Web3Con” in the Republic of Mauritius.
チームTeamチームTeam


Jordan Bienvenue
雲海 Builder | Co-founder
Front-end Engineer | React Developer | Web3 Agency | NFT Booster | Creator Economy Idealist | Blockchain Technology Enthusiast | Beekeeper | Drone Pilot
Adrien Heckstall
雲海 Dreamer | Co-founder
Digital Disruptor | Web3 Agency | NFT Strategy Enthusiast | Creator Economy Booster | Blockchain Technology Advocate
Bruno Bernard
雲海 Master | Co-founder
Software Engineer | Open-source Developer | Web3 Agency | Blockchain Technology Advocate | NFT Smart Contract Developer | Creator Economy Builder
Powering Content Creators to enhance storytelling, experience and community with web3 technology in the creator economy.
ロードマップRoadmapロードマップRoadmap
WEB3 AGENCY WEBSITE
Web3 agency website launch of UNKAI Labs, offering web3 development services like NFTs, digital collectibles in particular for content creators who are interested in offering innovative experiences to their community.
Q4 2022

UNKAI NATION PASS: GENESIS DROP
The free Genesis drop is our very first limited edition of UNKAI Nation Pass on Polygon Network. The collection contains 1200 digital assets in the form of NFT passes that grant access to our private community, exclusive content and tools on our websites, admission to live events, discounts on digital and physical products, and much more.
Q1 2023
UNKAI NATION COMMUNITY
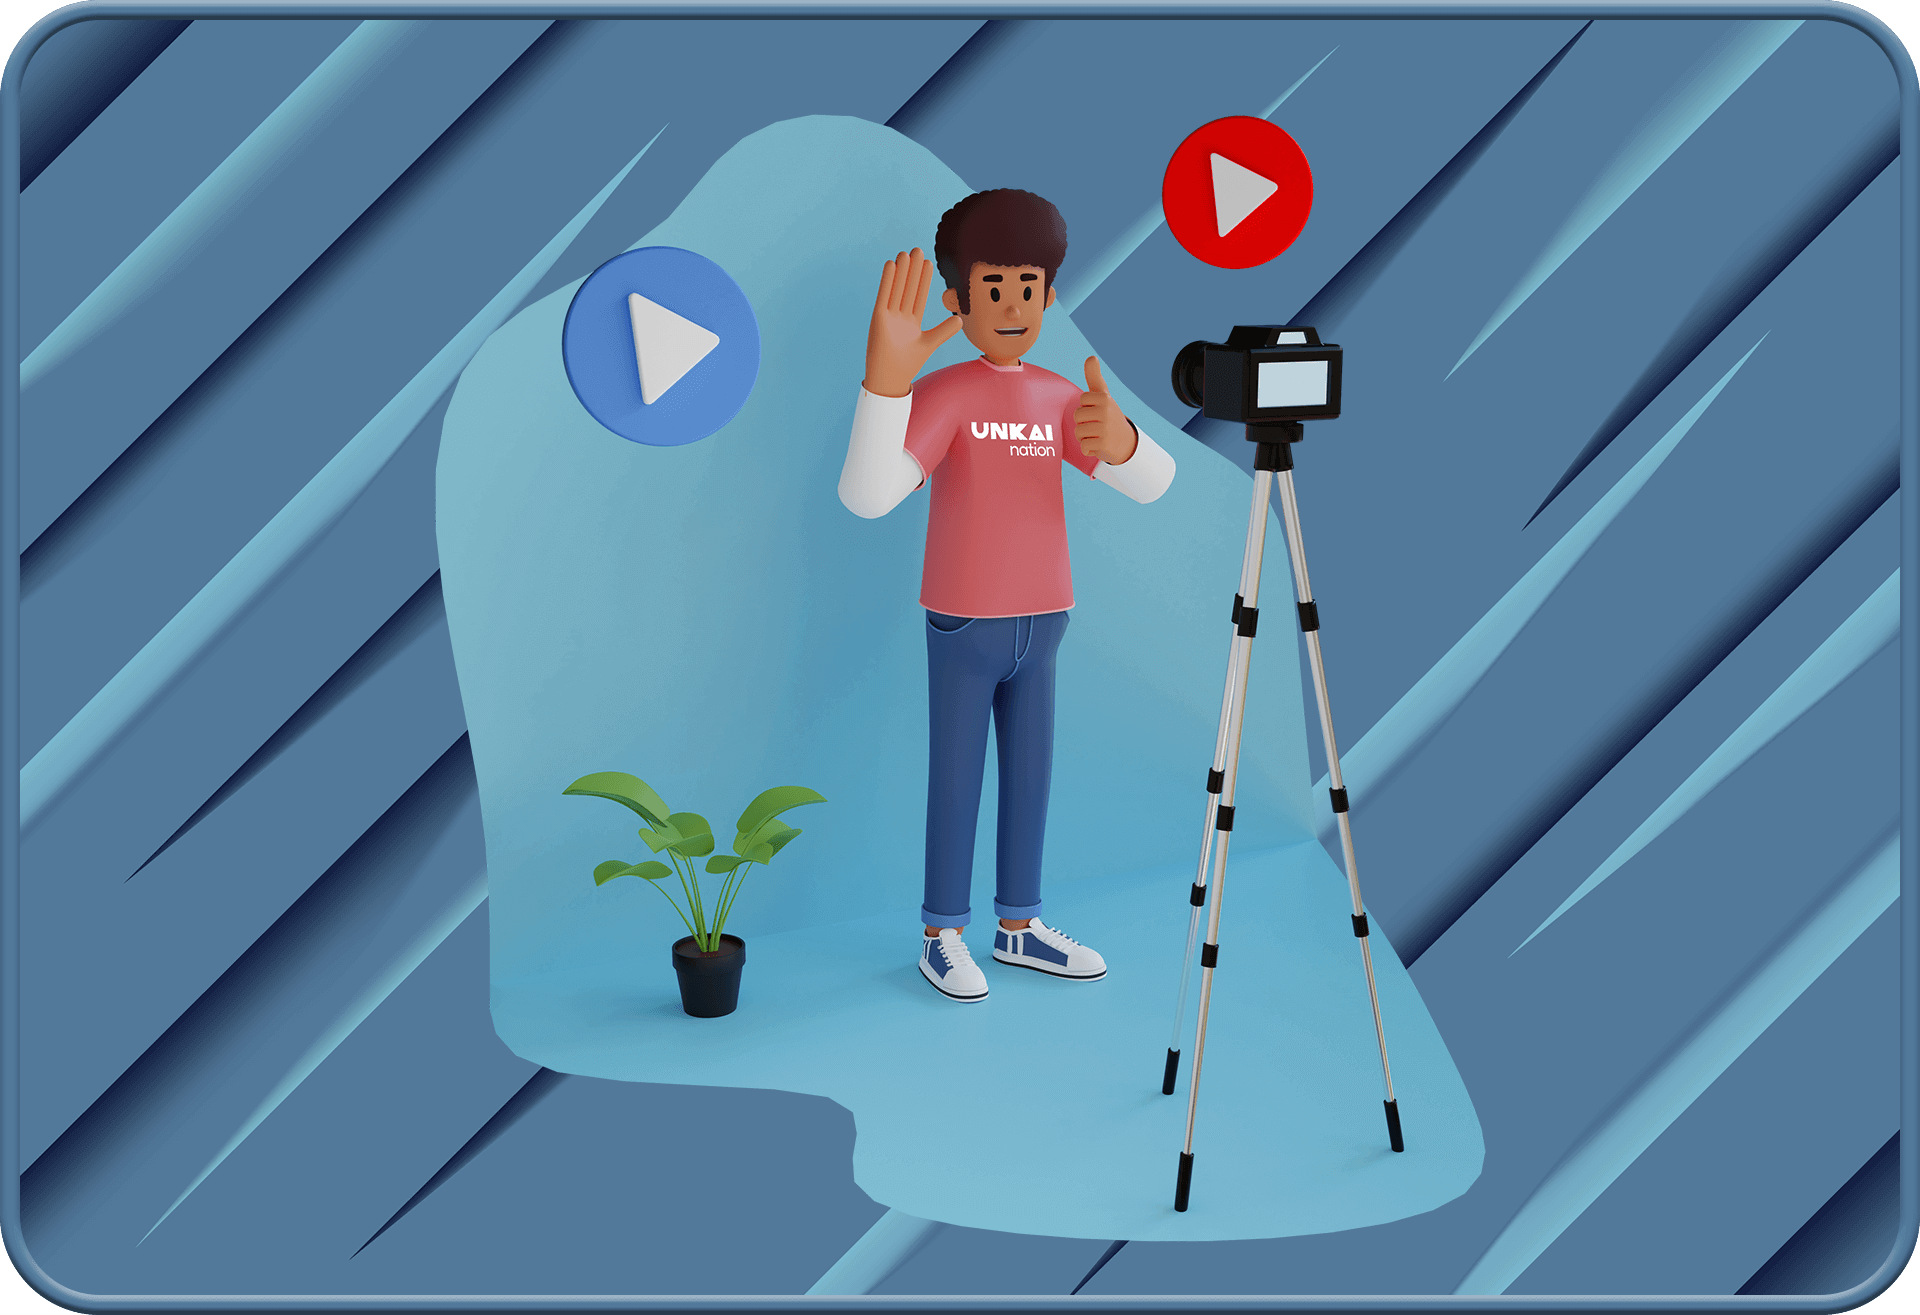
Launch of our exclusive Discord community to connect like-minded content creators, artists, and brands with each other, and use engaging voice and video-chat features. Striving to build a strong community of web3 enthusiasts in the creator economy who are interested in bringing their knowledge, content creation, monetization, and collaboration to new heights.
UNKAI MEDIA TAKES FLIGHT!
Our news and educational media platform will ignite a spark of inspiration, and become a beacon of hope for the creative community, providing the tools they need to thrive and attain financial independence in the creator economy. Armed with the revolutionary power of web3 technology, we will bring you a carefully crafted collection of content where creators will immerse themself in a world of knowledge, wonder and excitement with topics ranging from the latest in web3 technology to wellness, travel, lifestyle and causes that matter.
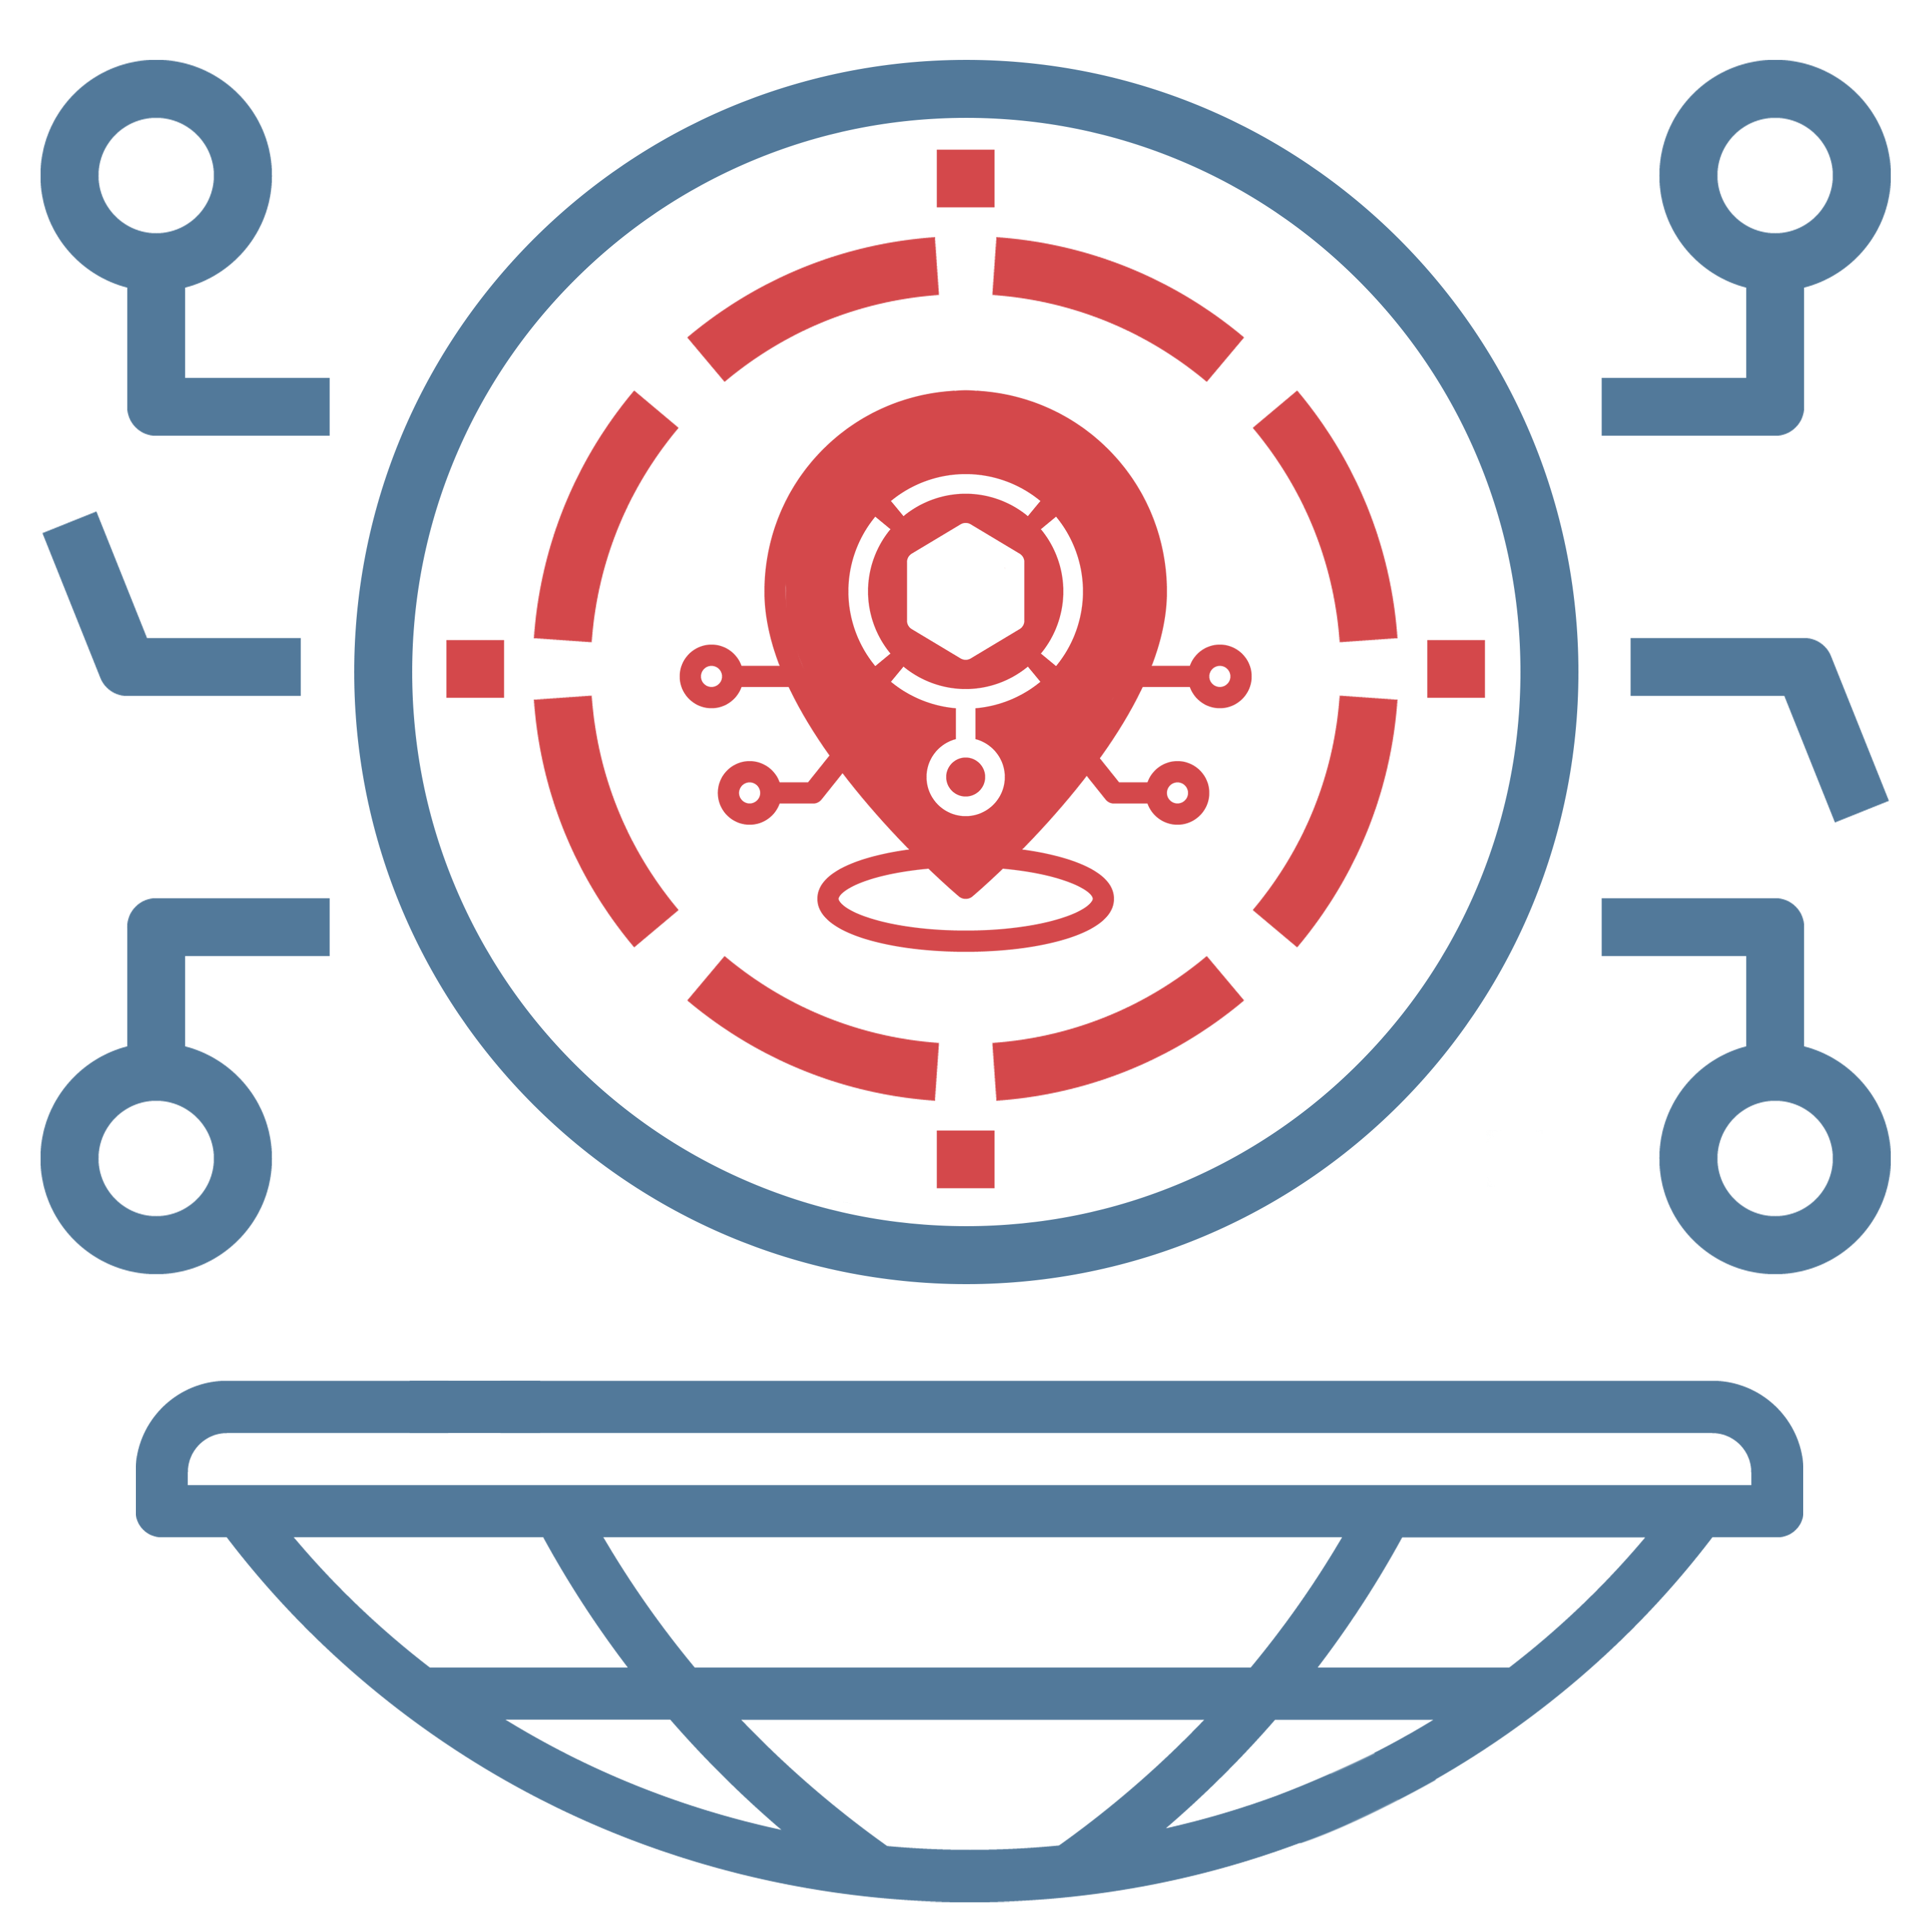
CLOUD ACADEMY UNKAI NATION PASS
The Cloud Academy drop will be our second free limited-edition of 1200 UNKAI Nation Passes in the form of membership NFTs that will grant exclusive access to educational content on the token-gated websites of UNKAI Media and partners, access to our private community, and admission to exciting live events.
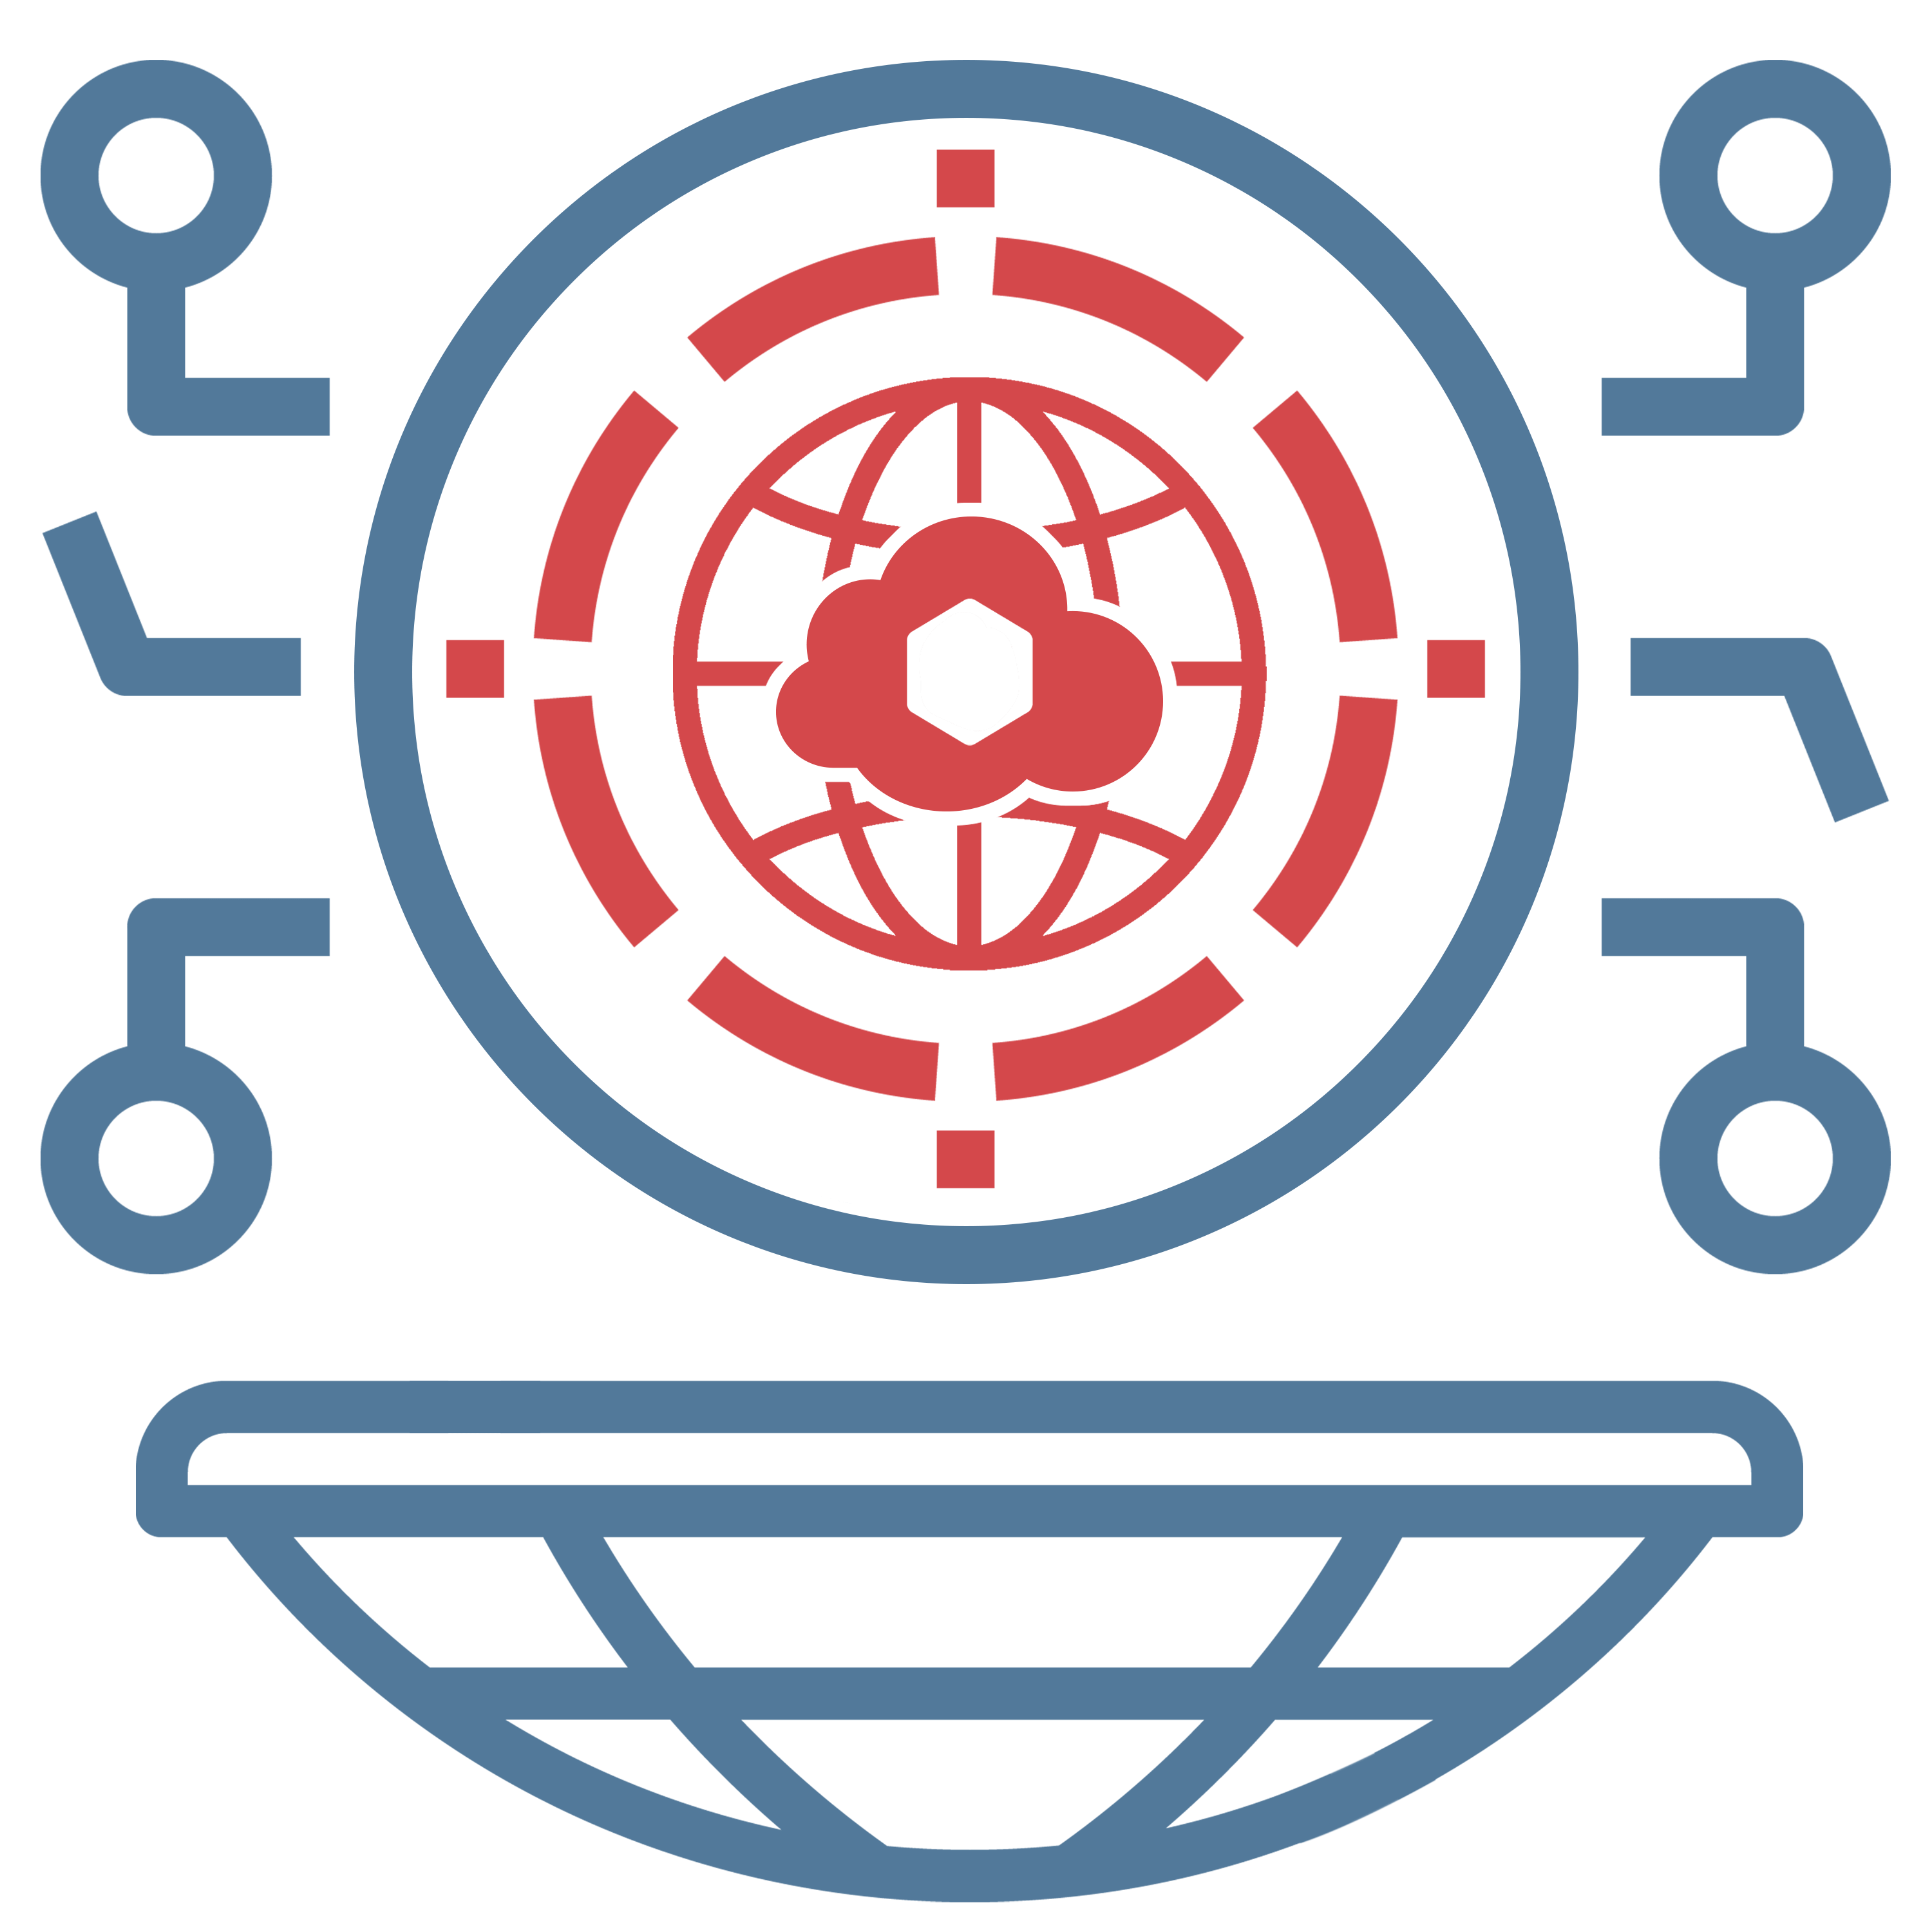
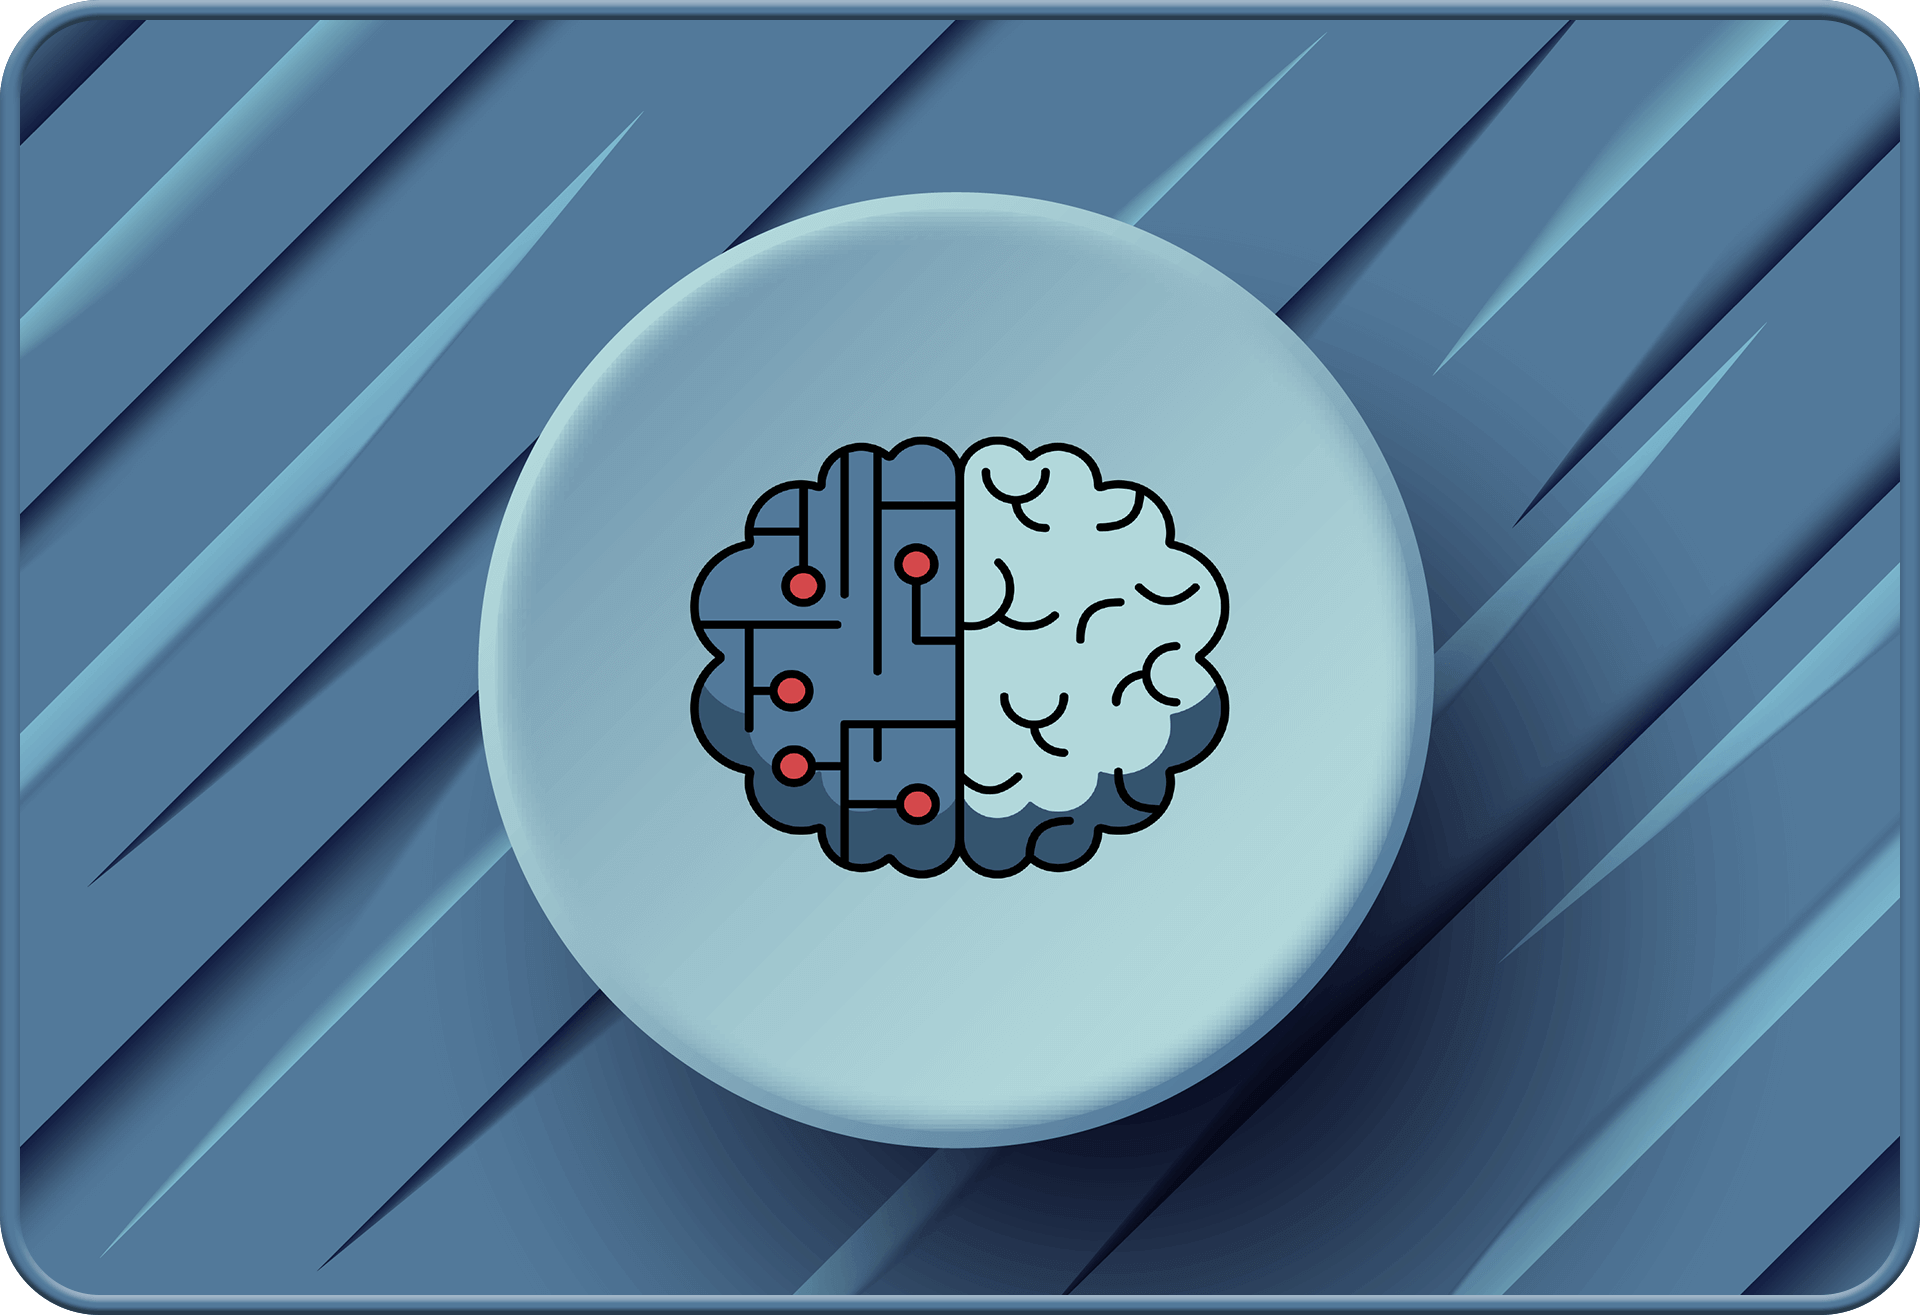
WEB-BASED AI ASSISTANT TOOL
The upcoming launch of our Knowledge-based Artificial Intelligence (KAI) assistant tool will revolutionize the content creation process. This cutting-edge tool will be specifically designed to enhance productivity and creativity for YouTubers, bloggers, and all other types of content creators. KAI will provide personalized recommendations, and optimize workflows to allow content creators to focus on what they do best: creating engaging and impactful content.
UNKAI DAO
As a member of our Decentralized Autonomous Organization (DAO), content creators will have a direct impact on the future of UNKAI Nation. With our decentralized and transparent voting system, their voice will be heard loud and clear on key issues and topics, allowing them to drive change and shape the future of our brand and community. As a member, they will also have access to exclusive benefits and rewards, such as early access to new content and products, and the ability to influence the direction of the UNKAI Nation ecosystem.
FIRST UNKAI NATION IP COLLECTION
The first UNKAI Nation IP collection is set to revolutionize the world of digital collectibles for content creators. With a focus on both utility and creativity, this collection will offer a new and thrilling way to own a piece of the UNKAI Nation brand. The creator community will immerse themself in a world of unique, rare and valuable digital collectibles, each offering a chance to secure their place in the nation and pave the way for the future of digital ownership in the creator economy. No one will want to miss out on this opportunity to join the forefront of innovation and own a piece of the future!
Q2 2023
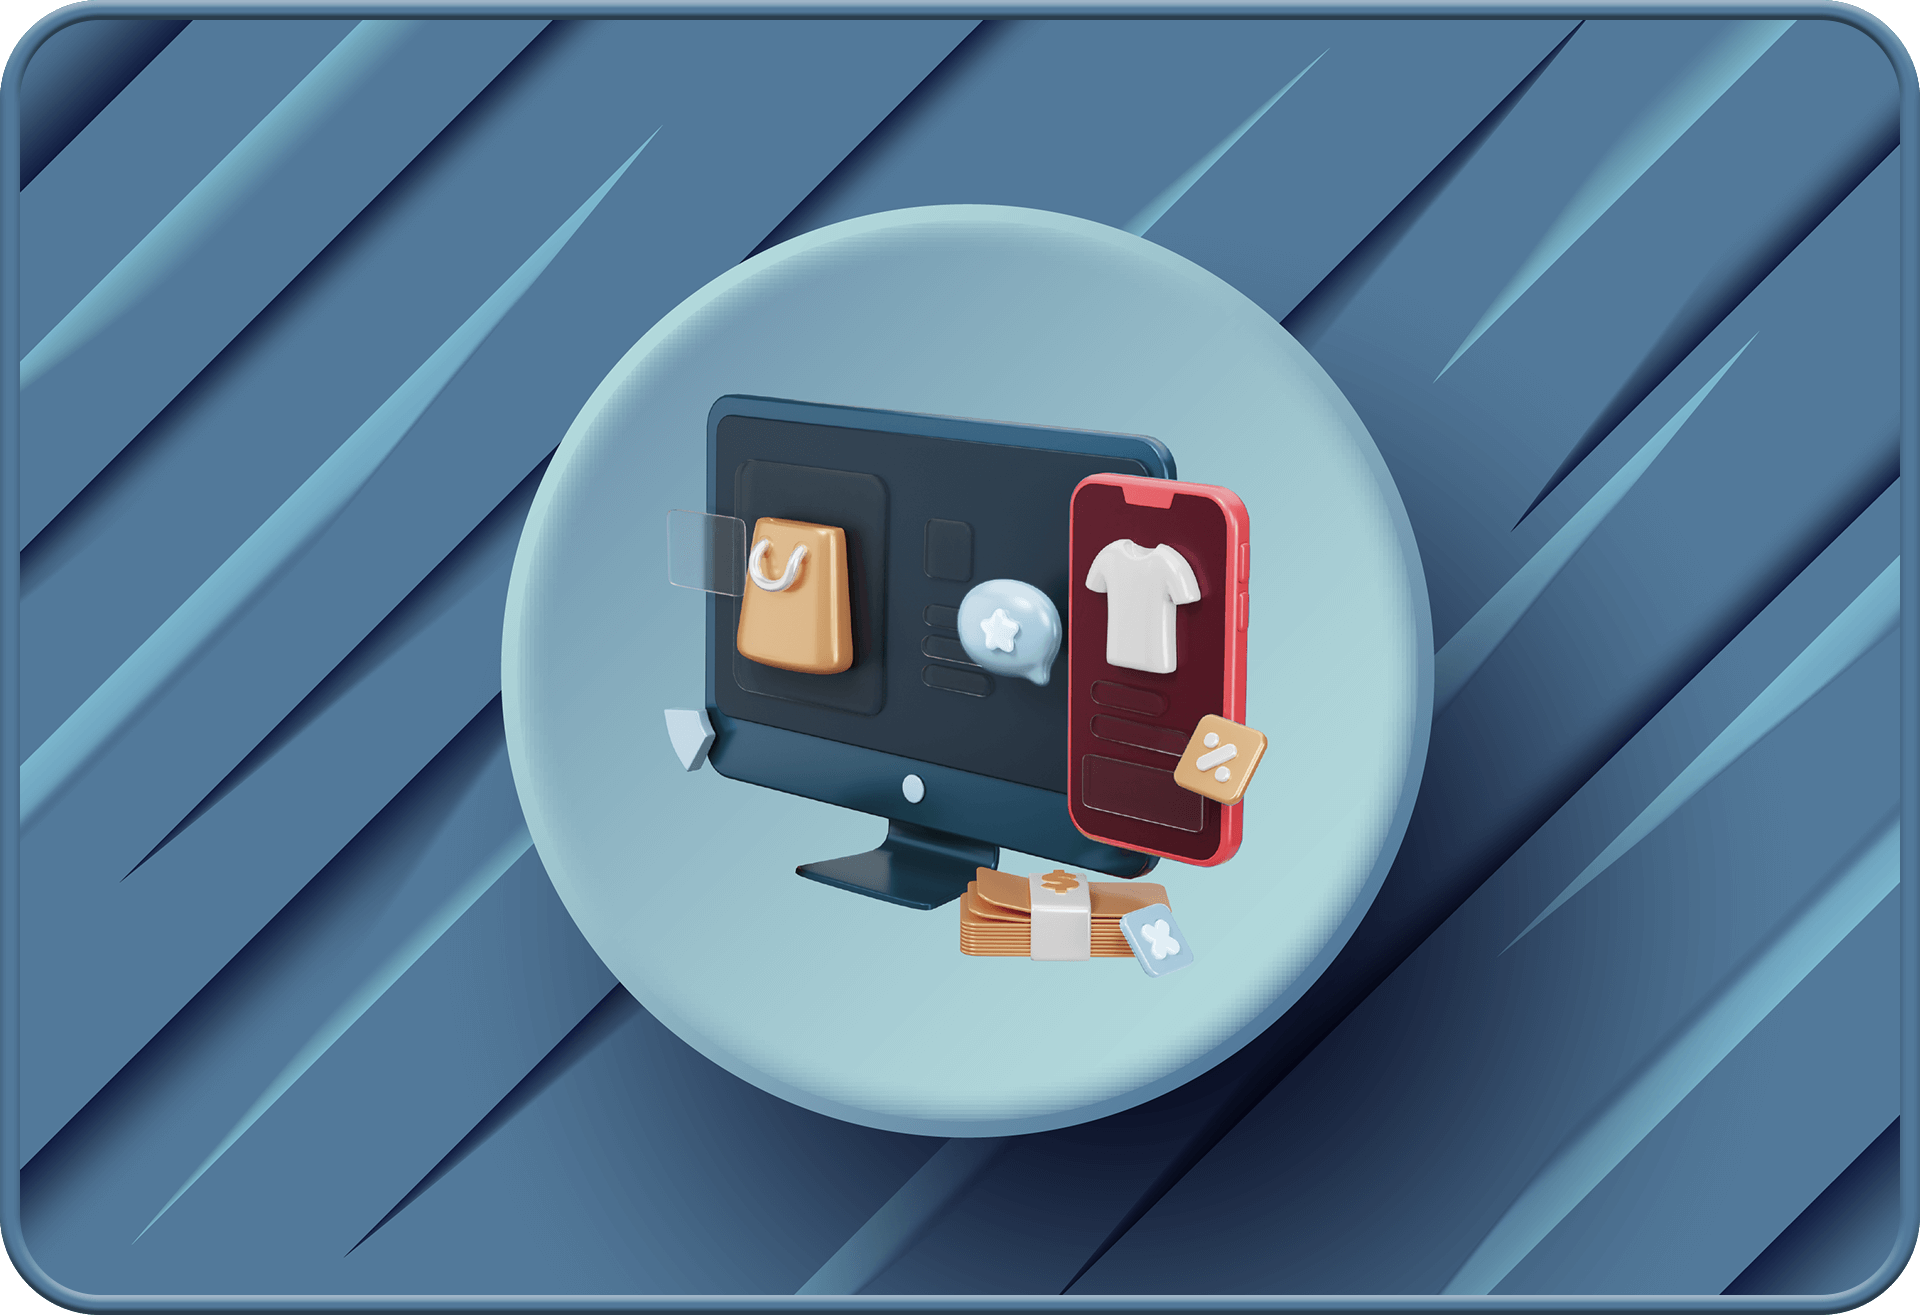
UNKAI MARKET: NFT MARKETPLACE
Launching UNKAI Market, a state-of-the-art NFT marketplace to provide the ideal fusion of cutting-edge technology with an intuitive, user-friendly interface, unsurpassed user experience with unique, one-of-a-kind digital collectibles to flawlessly buy, sell, and trade online.
UNKAI SHOP
The introduction of UNKAI Shop will present an opportunity for the UNKAI Nation community to access exclusive merchandise from the brand. Members will be able to showcase their enthusiasm for the web3 movement and support the brand with a signature collection of premium and distinctive apparel. We aim to offer a new way for fans to express their passion and connect with the UNKAI Nation.

よくある質問FAQよくある質問FAQ
What is Web3?
Web3, also known as the “decentralized web,” refers to the use of blockchain technology to build decentralized applications (dApps) that are accessible through the World Wide Web. The Web3 space creates a more open, transparent, and secure internet that is not controlled by a single entity or organization, placing the digital asset ownership revolution at its core.
Web1, also known as the static web, refers to the earliest version of the World Wide Web, which was primarily used to access and read static documents and information. Web1 was characterized by its lack of interactivity and the very limited ability for users to interact with content.
Web2, also known as the dynamic web, refers to the second generation of the World Wide Web, which introduced the development of more interactive and dynamic features such as social media, blogs, and other platforms that allowed users to create and share content, as well as interact with each other.
In summary, the main difference between Web1, Web2, and Web3 is the level of interactivity and decentralization. Web1 was primarily used for accessing static information where companies create and profit, while Web2 introduced more interactive features and social media platforms where people create and companies profit. Web3 takes it a step further by using blockchain technology to create decentralized applications that are powered by a decentralized network where people create AND profit.
What is Blockchain?
A blockchain is a decentralized, distributed database that stores and records transactions using cryptography. It allows for the first time to document history in the making, and is controlled by the people who are participating, without any possibility to be changed or altered.
It is made up of linked blocks of data that are difficult to alter or manipulate due to the decentralized nature of the network, meaning it is not controlled by a single entity or organization. Instead, it is maintained by a network of computers that work together to validate and record transactions. Each block contains a number of transactions, and once a block is added to the chain, the transactions it contains are considered to be permanent and unchangeable.
In other words, a blockchain enables a new “trustless” version of the internet with security, transparency, and immutability where users do not need to trust one another or rely on centralized services and corporations to transact.
What is Bitcoin?
Bitcoin is a decentralized digital currency that uses blockchain technology. It was created in 2009 by an unknown individual or group of individuals using the pseudonym Satoshi Nakamoto. It is based on a peer-to-peer network and operates without any central authority, such as a bank or government.
With Bitcoin, you can send and receive payments instantly and securely, without the need for a bank or any other central authority, giving you complete control over your money. Bitcoin is not just a means of exchange - it's also a powerful investment opportunity. As more and more people adopt Bitcoin and recognize its potential, the value of the currency has the potential to grow significantly over a long period of time.
Bitcoin has gained widespread attention due to its disruption of the traditional financial systems and the fact that it is not subject to the same regulations and controls as traditional currencies.
What is a Smart Contract?
A smart contract is a self-executing contract recorded on a blockchain network with the terms of the agreement between all participants, being directly written into lines of code. It facilitates, verifies, and enforces the negotiation or performance of a contract. Because smart contracts are stored on a decentralized, digital ledger and executed automatically, they can facilitate the exchange of multiple assets such as money, shares, property, or anything of value in a transparent, conflict-free way while avoiding any intermediary's involvement or time loss.
What is a Non Fungible Token?
A Non-fungible tokens (NFT) is a blockchain-based technology in the form of a digital token, that creates a transparent ledger to document providence, actual digital ownership, and history of a digital asset that is unique, unreplicable and irreplaceable. This also means digital information can be verified. NFTs can thus serve as a digital passport.
With NFTs, You’re not buying the file attached to it (ie GIF, JPEG, MOV, MP4, MP3, etc), you’re buying the piece of data on that NFT and that is what has value. NFTs can represent digital art, physical goods, virtual land, virtual items, sports cards, tickets, fashion, and much more. NFTs are also a great way to eliminate friction and provide utility for enhancing a better customer experience.
How to purchase cryptocurrency on different exchanges?
While there are several ways to purchase cryptocurrency, we will focus here on one of the most common ways to purchase cryptocurrency, which is through a cryptocurrency exchange. To purchase cryptocurrency on an exchange, follow these steps:
1. Choose an exchange: Research and compare different exchanges to find one that offers the cryptocurrency you want to purchase and that is reputable and secure. Some popular exchanges include but are not limited to Coinbase and Binance (Binance US for United States citizens).
2. Create an account: Once you have chosen an exchange, you will need to create an account. This usually involves providing your name, email address, and creating a password.
3. Verify your identity: Most exchanges will require you to verify your identity before you can start trading. This typically involves uploading a copy of your government-issued ID and sometimes other documents such as a proof of residence.
4. Deposit funds: Once your account is set up and your identity is verified, you will need to deposit funds into your account. This can typically be done by linking a bank account or credit card to your account and transferring funds.
5. Place an order: Once you have funds in your account, you can place an order to buy the cryptocurrency you want. To do this, you will need to specify the amount you want to buy and the price you are willing to pay.
6. Complete the purchase: Once your order is matched with a seller, your purchase will be completed and the cryptocurrency will be transferred to your exchange wallet.
Keep in mind that the process of buying cryptocurrency on an exchange can vary slightly from one exchange to another. Be sure to carefully read the exchange's instructions and guidelines before making a purchase.
How to create a crypto wallet?
Ready to create your own cryptocurrency wallet? Start by selecting a wallet software. There are plenty of options out there, like MetaMask, Coinbase, and Trust Wallet. Follow the instructions provided by the wallet provider to set up your wallet. Different wallets may have slightly different steps, so make sure to pay attention and follow them closely to ensure a successful setup. Keep your wallet secure. Make sure to follow the instructions provided by the wallet provider to ensure that you are able to use your wallet safely and securely. By following these steps, you'll be on your way to managing your own cryptocurrency and taking control of your financial future.
MetaMask Wallet
To create a MetaMask wallet, follow these steps:
1. Go to the MetaMask website (https://metamask.io/) and click on the "Get MetaMask" button. This will take you to the page where you can download the MetaMask extension for your web browser.
2. Follow the prompts to install the MetaMask extension. The installation process will vary depending on your web browser and operating system, but it should be straightforward.
3. Once the extension is installed, click on the MetaMask icon in your browser to open the app. This will bring up the MetaMask interface, which will ask you to create a new wallet or import an existing one.
4. Click on the "Create a Wallet" button to begin the process of creating your wallet. This will bring up a series of screens that will guide you through the process.
5. Read and agree to the terms of service and privacy policy. This is an important step, as it outlines the terms under which you will be using MetaMask and how your personal information will be handled.
6. Create a strong password for your wallet. It is important to choose a unique and secure password that you will remember, as you will need it to access your wallet.
7. MetaMask will generate a seed phrase for you. This seed phrase is a series of words that can be used to recover your wallet if you ever lose access to it. It is important to write down your seed phrase and store it in a safe place, as losing access to your seed phrase could result in the loss of your digital assets.
Once you have completed these steps, your MetaMask wallet will be created and you will be able to start using it to manage your digital assets. You can use the wallet to send and receive cryptocurrencies, interact with decentralized applications (dApps), and more. It is important to keep your seed phrase and password secure and to back them up in a safe place. Losing access to your wallet could result in the loss of your digital assets, so it is essential to take steps to protect your wallet.
Coinbase
To create a non-custodial Coinbase wallet, you will need to follow these steps:
1. Go to the Coinbase website (https://coinbase.com/) and create an account if you don't already have one. Make sure to use a strong, unique password and enable two-factor authentication to protect your account.
2. Once you have an account, click on the "Wallet" tab in the top menu. This will take you to the Coinbase wallet page, where you can manage your cryptocurrency holdings.
3. From the wallet page, you can select the cryptocurrency that you want to create a wallet for. Currently, Coinbase supports Bitcoin, Ethereum, Bitcoin Cash, Litecoin, and a few other cryptocurrencies.
4. After selecting the cryptocurrency, click on the "Create a Wallet" button. This will bring up a prompt that will guide you through the process of setting up your wallet.
5. Follow the prompts to set up your wallet, including creating a strong password and backing up your recovery phrase. Your recovery phrase is a series of words that you can use to recover your wallet if you lose access to your account. It's important to keep this phrase in a safe place, as it is the only way to recover your funds if you lose access to your account.
6. nce your wallet is set up, you can start using it to receive, store, and send cryptocurrency. To receive cryptocurrency, you will need to provide the sender with your wallet address, which is a string of characters that identifies your wallet. To send cryptocurrency, you will need to enter the recipient's wallet address and the amount you want to send.
It's important to note that even though Coinbase is a non-custodial wallet, it does hold your private keys on your behalf. This means that if you lose access to your account, you may not be able to recover your funds. Therefore, it's important to make sure you follow best practices for securing your account and backing up your recovery phrase in a safe place.
Trust Wallet
To create a Trust Wallet, you will need to follow these steps:
1. Download the Trust Wallet app from the App Store (for iOS devices) or the Google Play Store (for Android devices). Trust Wallet is a mobile wallet that allows you to store and manage multiple cryptocurrencies, including Bitcoin, Ethereum, and many others.
2. Once the app is installed on your device, open it and click on the "Create a New Wallet" button. This will bring up a prompt that will guide you through the process of setting up your wallet.
3. Follow the prompts to set up your wallet, including creating a strong password and backing up your recovery phrase. Your recovery phrase is a series of words that you can use to recover your wallet if you lose access to it. It's important to keep this phrase in a safe place, as it is the only way to recover your funds if you lose access to your wallet.
4. After your wallet is set up, you can start using it to receive, store, and send cryptocurrency. To receive cryptocurrency, you will need to provide the sender with your wallet address, which is a string of characters that identifies your wallet. To send cryptocurrency, you will need to enter the recipient's wallet address and the amount you want to send.
It's important to note that Trust Wallet is a non-custodial wallet, which means that you are in control of your private keys and are responsible for the security of your funds. This means that you have complete control over your cryptocurrencies and are able to access and manage them directly. However, it also means that you need to take extra care to secure your wallet and protect your recovery phrase, as you will not be able to recover your funds if you lose access to your wallet. Make sure to follow best practices for securing your wallet and backing up your recovery phrase in a safe place.
How to send crypto to my wallet?
Ready to send cryptocurrency from an exchange to your (non-custodial) wallet? Here's what you need to do:
1. Make sure your wallet is set up and ready to receive cryptocurrency. You'll need to provide the exchange with your unique wallet address.
2. Log in to your account on the cryptocurrency exchange.
3. Go to the "Withdraw" or "Send" section of the exchange's website or app.
4. Enter the amount of cryptocurrency you want to send and your wallet's address. Double-check everything to avoid mistakes.
5. Review the transaction details and confirm that everything is correct.
6. Click on the "Send" or "Withdraw" button to initiate the transaction. The cryptocurrency will be transferred from the exchange to your wallet.
Remember, cryptocurrency transactions are generally irreversible, so double-check the details before hitting send. Don't forget to account for any withdrawal fees that may be associated with the exchange you're using. Keep your wallet secure to ensure the safety of your cryptocurrency.
How to connect my wallet to a website?
To connect your cryptocurrency wallet software to a website, you will need to follow these steps:
1. Make sure that your wallet software is set up and ready to use. This typically involves creating a new wallet and backing up your recovery phrase.
2. Find the website that you want to connect your wallet to. Some websites, such as exchanges or online stores, may have a "Connect Wallet" button or a similar option that you can use to initiate the connection.
3. Click on the "Connect Wallet" button or follow the prompts to initiate the connection. This will typically bring up a prompt that will ask you to grant the website access to your wallet.
4. Grant the website access to your wallet. This will typically involve selecting your wallet software from a list of options and entering your login credentials.
5. Once the connection is established, you will be able to use your wallet to interact with the website. This may include making purchases, trading cryptocurrency, or accessing other features that are available on the website.
It's important to note that connecting your wallet to a website may allow the website to access certain information from your wallet, such as your wallet address and the balance of your cryptocurrency holdings. Make sure to only connect your wallet to websites that you trust and that have good security practices in place.
What does “minting” mean?
Minting an NFT (non-fungible token) refers to the process of creating and issuing a unique, digital asset on a blockchain. NFTs are used to represent ownership of a wide range of digital or physical assets, including artwork, collectibles, in-game items, and more.
The process of minting an NFT typically involves creating a digital file or representation of the asset, assigning it a unique identifier on the blockchain, and then issuing it as a token. This can be done using specialized software or platforms designed for creating and managing NFTs. Once an NFT has been minted, each NFT is unique and cannot be replaced or replicated. It can be bought, and sold like any other asset.
In summary, minting an NFT involves creating and issuing a unique, digital asset on a blockchain, which can be used to represent and verify ownership of a wide range of assets.
How to mint an NFT?
To mint an NFT (non-fungible token), you will need to follow these steps:
1. Create a digital file or representation of the asset you want to mint as an NFT. This can be a piece of artwork, a collectible, an in-game item, or any other type of asset.
2. Choose a blockchain network that supports the creation and issuance of NFTs. Some popular networks for minting NFTs include Polygon and Ethereum.
3. Set up a digital wallet that is compatible with the blockchain network you have chosen. This will be used to store and manage your NFTs.
4. Use specialized software or a platform designed for creating and managing NFTs to create your NFT. This may involve uploading your digital asset, assigning it a unique identifier, and setting any relevant metadata or details about the asset.
5. Issue your NFT by sending it to your digital wallet and making it available for sale or trade on a marketplace or platform that supports NFTs.
Keep in mind that minting an NFT may require some technical knowledge and understanding of blockchain technology. If you are not familiar with these concepts, you may want to seek guidance from someone who has experience with minting NFTs or consider asking our team how we can help you mint and manage your NFTs.
Where can I find my NFT(s) after the completed transaction?
Looking for your newly purchased NFT (non-fungible token)? No worries! Simply access your digital wallet software, where it will be securely stored directly after your purchase has been completed. You can view and manage your NFTs by connecting your wallet to a platform or marketplace such as OpenSea that supports NFTs.
If you have any difficulty finding your NFT after making a purchase, feel free to reach out to us for assistance. We will be more than happy to help you locate your NFT(s).
What is a Discord server? How to use Discord?
A Discord server is a virtual space where users can communicate with each other through text, voice, and video. Discord servers are often used by communities of people with shared interests, such as gamers, content creators, or online communities.
To use a Discord server, you will need to create a Discord account and download the Discord app on your computer or mobile device. Once you have an account and the app installed, you can join a server by entering an invitation code or by clicking on an invitation link.
Once you have joined a server, you will be able to participate in text, voice, and video conversations with other members of the server. You can also access different channels within the server to participate in specific discussions or join voice channels to talk with other members in real-time.
Discord servers often have rules and guidelines that users are expected to follow, and you may also have the ability to customize your own user settings and preferences within the app.
How does Opensea work?
OpenSea is a leading marketplace for buying, selling, and trading non-fungible tokens (NFTs) - unique digital assets that are stored on a blockchain. With a vast selection of NFTs to choose from, including artwork, collectibles, in-game items, and even virtual real estate, OpenSea offers something for every type of NFT enthusiast.
To get started on OpenSea, you'll need to create an account and connect a digital wallet that is compatible with the platform. Once you're set up, you'll have access to the marketplace and can begin browsing and bidding on NFTs or listing your own for sale.
To purchase an NFT on OpenSea, simply find an NFT that catches your eye and place a bid or buy it outright at the listed price. Keep in mind that you'll need to have digital currency (such as Ethereum) in your wallet to complete the transaction. If you place a bid, the seller will have the option to accept or reject your offer. If the seller accepts, the NFT will be transferred to your digital wallet and you'll be the proud new owner!
In short, OpenSea is a user-friendly and stylish platform for buying, selling, and trading NFTs. Create an account, connect a digital wallet, and start exploring the endless possibilities of the NFT world today!
